
SUBSCRIBE TO OUR BLOG
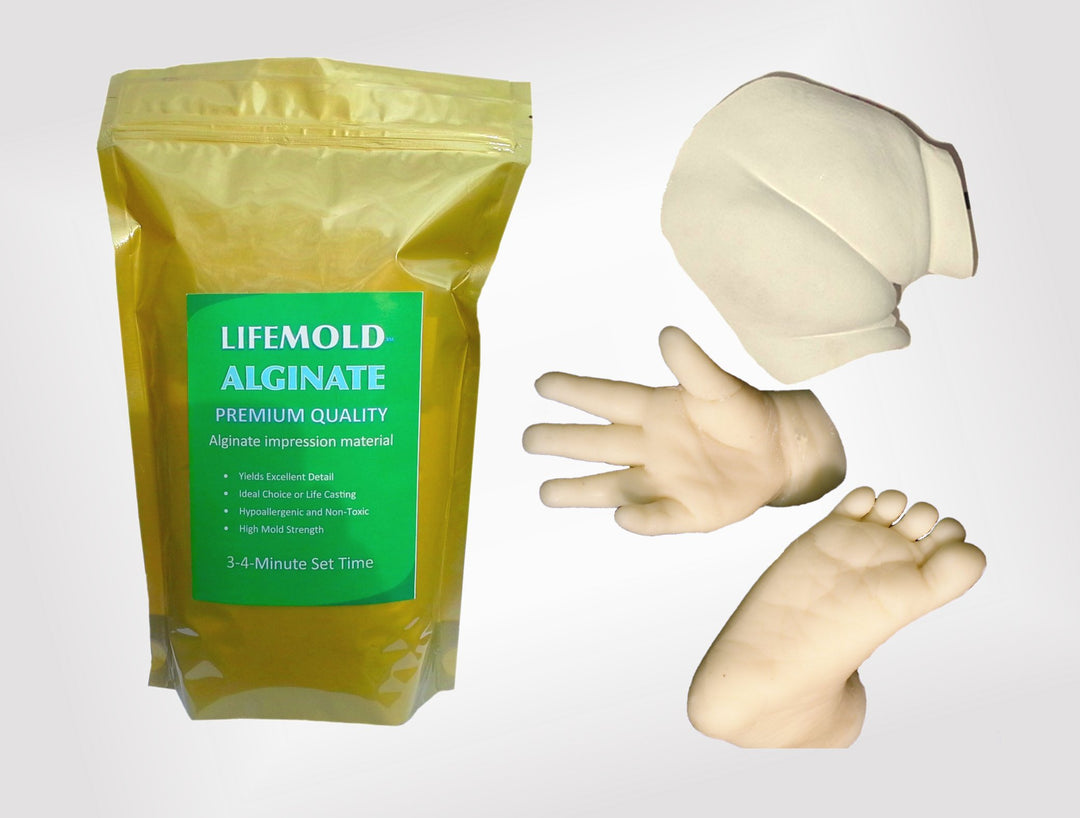
Subscribe to get special offers, free giveaways, and once-in-a-lifetime deals.Alginate is often used by dentists for taking impressions. It's great for hand casting because it's safe for the skin and easy to shape. It's important to pick the right type of alginate when you start a hand casting project. For big casts, choose slow-setting alginate to get a perfect mold. You can find this kind of alginate at EnvironMolds.com, such as on Amazon.
After making the alginate mold, you can use different materials to copy the hand shape. These include wax, plaster, or even concrete. The alginate turns into a rubbery form within 2 minutes, but this can change depending on the type you use. It's really important to be careful when the alginate is setting and when you take the hand out. This avoids ruining the mold and helps catch all the details.
- Use slow-setting alginate for better results in big hand-casting projects
- For precision, use dental-grade alginate which is available online
- Think about using wax, plaster, or concrete to make lasting hand sculptures
- For the best mold, be exact with the alginate mixture: 1 liter of water for each pound
- Take your time when removing the alginate to keep the small details
Introduction to Hand Casting with Alginate
Using alginate powder for hand casting is special. It lets you make a keepsake that keeps every detail of your hand, like lines and fingerprints. Alginate is great for this because it's safe for the skin and catches a lot of detail. It's perfect for making personal art or family keepsakes.
Alginate is great because it makes a detailed hand mold fast. Use one liter of water for each pound of alginate to get a good mix. If the hand is big, you'll need more alginate. For big projects, use slow-setting alginate to have enough time.
The setting of alginate is quick, taking about 2-4 minutes. Soon after it sets, you should take out your hand to see the mold. It's important to start making the mold right away to keep it from getting bad.
Before you pour anything into the mold, make sure it’s clean. You can use a small amount of baking soda in water. This helps take out any stuck alginate. Alginate is great for getting all the tiny details. That's why it's good for special crafts and family memories.
Remember, alginate molds are a one-time use. For filling the mold, use ArtMolds' CastRite, plaster or gypsum. These are better than resin, which might not work well with alginate. Hand casting with alginate powder is simple but very meaningful. It's a great way to capture moments and memories in art.

Materials Needed for Alginate Hand Casting
To make a detailed hand cast, you must pick the right materials. Having the correct casting supplies is key to a successful mold.
Essential Supplies
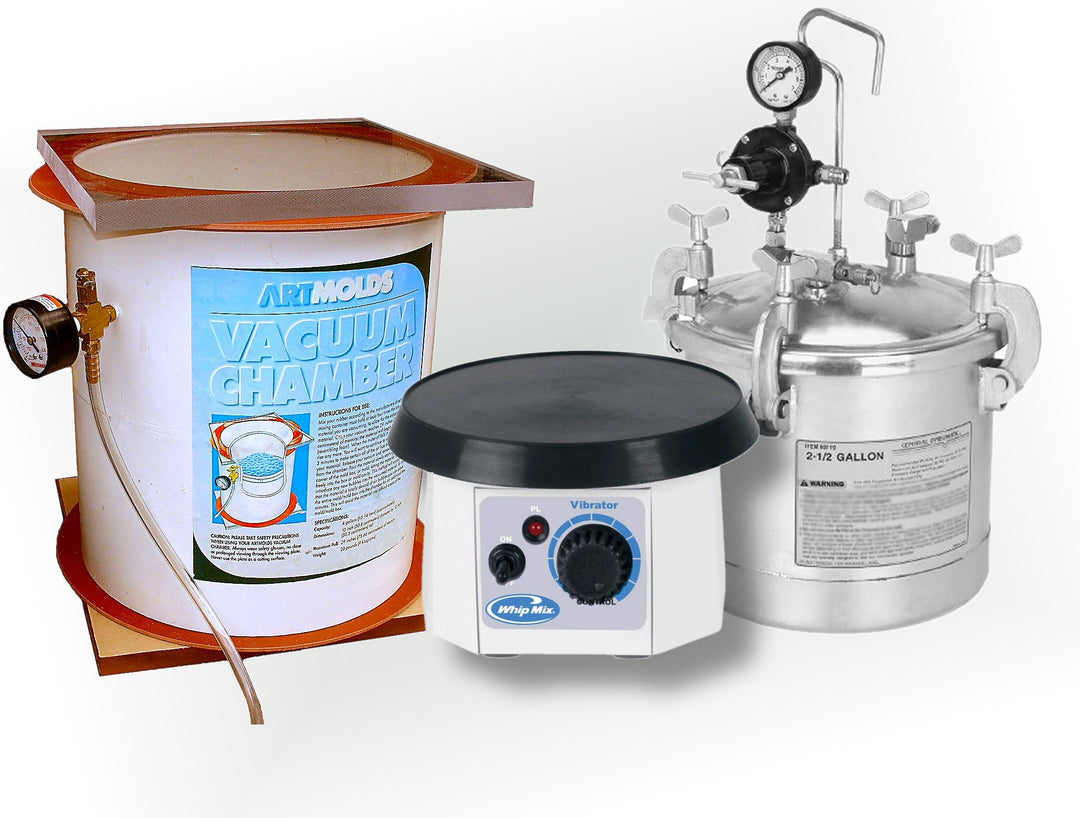
For a good alginate hand project, you'll need some important things. First, get an alginate mix. It's great at catching small details because it sets in just 2 minutes. You also need a mixing container, cold water, a stir stick, and for big projects, use a drill with a mixing auger to mix faster. Make sure to use a liter of water for every pound of alginate for the best results.
Choosing the Right Alginate
Choosing the best alginate for hand casting depends on your project. Alginate is perfect for getting all the little details, which is great for projects like making life casts. For big projects or adult hands, a slow-setting alginate works best. But for little hands or when you want to finish quickly, fast-setting alginate is good too. Remember, you can only use alginate once, so you need a new mold for each cast.
Step-by-Step Guide to Mixing Alginate for Hand Molds
Making hand molds at home is a fun project. This guide will help you mix alginate the right way for perfect hand molds.
Preparation
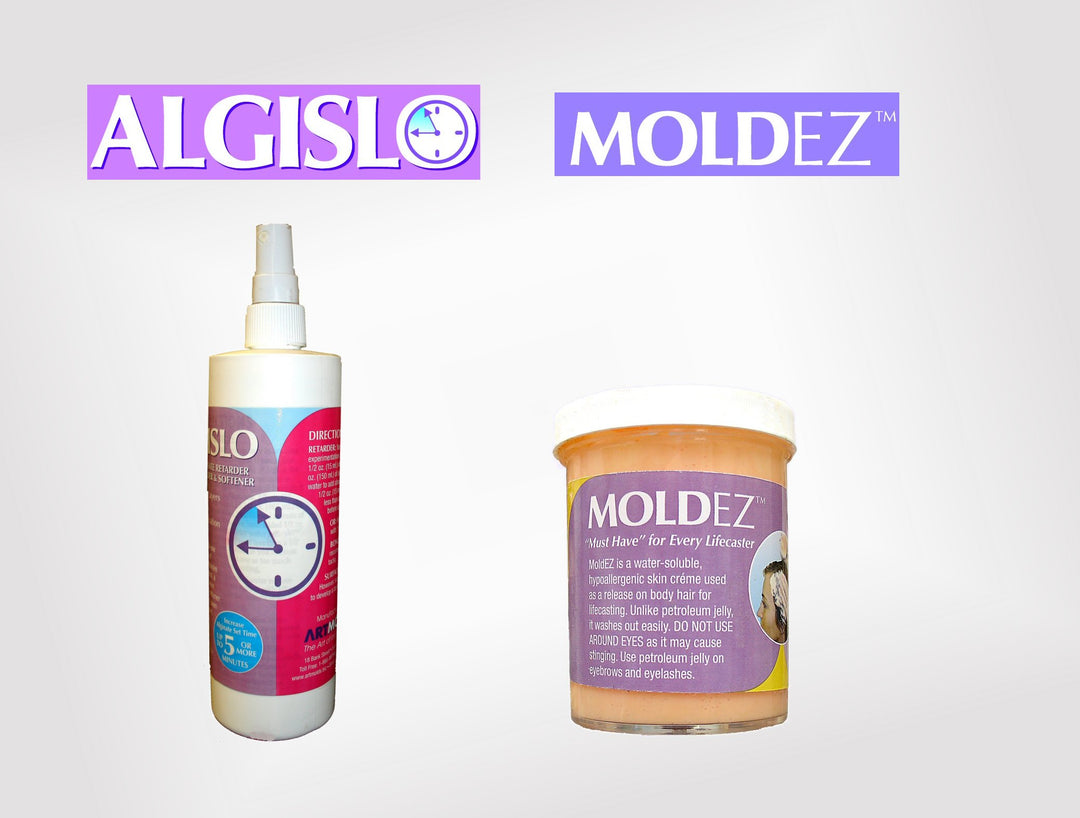
Start by gathering what you need. Measure the alginate and water as advised, using the right ratio. Cold water slows down setting, giving you more time to mix.
Mixing Techniques
Mixing quickly and well is key. A drill with a mixer helps, but watch the heat it might create. Make sure there are no lumps before pouring. This step should be smooth to avoid bubbles.
Common Mixing Issues
Sometimes, you might face issues. Using the wrong water temperature or mix ratio can make the consistency wrong. Pour slowly to reduce air bubbles.
Follow these tips closely for a perfect hand cast and avoid problems efficiently.
Creating the Hand Mold
In the world of hand casting, making the hand mold is key. It's important to get every little detail right.
Forming the Impression
To start, mix the alginate and water in equal parts. This mixing should take about 5 minutes. Alginate is used because it's great at capturing details and safe for your skin.
Quickly put your hand in the alginate after mixing. Make sure your hand doesn't touch the container's sides. It's important to keep your hand steady, as alginate hardens fast, usually in a few minutes. This makes sure all the little details of your hand are caught. Make sure no air bubbles form while you do this. Air bubbles can make holes in the mold, which you'll have to fix later on.

Once you've made the impression, let the alginate harden. It needs to sit for about 4 hours without moving in a warm spot. This is so it's ready for the plaster mold. Your hand should not move during this time. Then, you'll let the hand mold dry overnight before the next step.
You can paint the cast in different colors. Shades like stone or chrome make your mold look amazing. It's crucial to get rid of air bubbles before you let everything dry. This ensures your hand sculpture comes out perfectly smooth.
Pouring the Casting Material into the Alginate Mold
First, prepare the hand mold with alginate. Then, the key step is pouring in the casting material. Choose a material that matches what you want your final product to look like. Fill the mold carefully to pick up all the details. Make sure to leave enough time for the material to harden.
Choosing Your Casting Material
Your choice in casting material affects how the cast will look and its strength. People often choose plaster because it's familiar and easy to work with. You can also use wax, liquid stone, or concrete for different looks. Consider how well the mold takes details and how strong you want the cast to be when choosing.
Filling the Mold
Filling the mold correctly is crucial to avoid mistakes. Mix your casting material carefully as the instructions say. Then, pour it into the alginate mold slowly. Make sure it gets into every part. If you see tiny air bubbles, you can fix them with a special glue.
Setting Period
The time needed for the cast to set depends on the material. For example, wax might take a few hours to be completely hard. Plaster also needs time to set. Do not move the mold while the material is hardening. This keeps the cast looking its best. The fine details from the alginate and wax will show in the final product.
Knowing these steps helps you make a great hand cast with alginate. Pick the right material, fill the mold well, and let it set properly. This way, you'll get a strong and detailed piece of art.
Removing the Hand Cast from the Alginate Mold
To take out the hand cast, you need to be careful. First, use a sharp knife to cut the alginate gently. This scoring makes the cast easier to remove, especially from tricky spots.
Extraction Techniques
A gentle and slow approach is important to avoid hurting the cast. Alginate hardens fast, in about 2 minutes. This is why it catches small details like wrinkles well. If the cast is stuck, soaking it in a baking soda and water mix can help loosen it.
Cleaning the Cast
Clearing any leftover alginate showcases the fine details well. A mix of baking soda and water, used with a toothbrush, works well. It's effective for a thorough clean and detail preservation.
If there are still flaws, try Titebond Thick & Quick glue. It's good for small fix-ups without harming the cast. Letting wax cool and harden in the mold also keeps it strong, maintaining the details.
| Aspect | Details | Reference |
|---|---|---|
| Mixing Ratio | 1 liter of water per pound of alginate | 2 |
| Alginate Setting Time | 2 minutes | 2 |
| Soaking Duration | A few hours | 2 |
| Cleaning Solution | 1/4 cup baking soda per liter of water | 2 |
| Detailed Results | Impressive for decorative purposes | 2 |
| Alginate Setting Time | 5 minutes | 3 |
Hand Casting
Hand casting lets you capture special moments in a unique way. It creates detailed sculptures perfect for family keepsakes or fun art projects. When doing alginate hand casting, knowing the right materials and steps is key. Kits from the EnvironMolds make it easy, giving you all you need. Plus, they're good for the environment since they limit waste. People love these kits for their simplicity and the quality of the casts.

Most kits have alginate powder, casting powder, and tools. These include things like sandpaper and a special stick for details. They differ in size and are meant for either one hand or several. This lets you make unique items as family keepsakes. It's very important to stay safe while hand casting. This means wearing protective gear like gloves and a mask.
Always follow the safety instructions in the kit. Materials from places like ArtMolds are safe for the skin. They make their kits with seaweed, which is gentle even on sensitive skin. People really like these kits for how easy they are to use. They also praise the quality of the casts, making it a strong choice for the community.
Customers often point out the fine detail in their final pieces. Many turn to these kits for making gifts or personal keepsakes. Have fun with your loved ones, and make memories with hand casting.


Conclusion
Making a hand cast with alginate is a fun experience. It lets you use your creativity to make a unique piece of art. This is a great project for anyone, no matter their crafting skill. You get to make a cool hand sculpture that you can paint in your own style. So, if you're looking for a fun craft, this is perfect for showing off your art skills.
The fine details you get with alginate make it perfect for keepsakes or funky decorations. You can pick different casting materials to change how your cast feels and looks. For example, painting your cast makes it really personal. It also shows off all the little details on your sculpture, making it feel real.
Showing off your hand casts is totally up to you. They can go on a shelf, make a lovely décor piece, or part of something bigger. This craft lets you make something special from a moment in time, in your own creative way. So, use your imagination and enjoy making something unique with hand casting.
FAQ
What is the best type of alginate for hand casting?
For big tasks or adult hands, medium-setting alginate is best. It allows enough time to work. Use fast-setting for smaller projects or if you want to finish quickly. Hollywood Impressions alginate from EnvironMolds is top choice because it's safe and captures details well.
How do I mix alginate for hand casting?
First, measure the alginate powder and water carefully in the right amount. Mix in a bowl with a stick or a drill for a smooth mix. Mixing quickly and well prevents lumps and bubbles.
What materials do I need for alginate hand casting?
You'll need alginate powder, cold water, a mixing bowl, and a stick. A drill with a mixer is handy.
How long does alginate take to set?
Alginate usually sets in a few minutes. Cold water slows this down, giving you more time to mix. Once it's stretchy and rubber-like, it's good to use.
How do I avoid common issues when creating a hand cast?
Mixing right, using cold water to control setting time, and pouring slowly prevents issues. These steps stop quick setting, air bubbles, and ensure a smooth mix.
What casting materials can I use with an alginate hand mold?
You can fill alginate molds with plaster, gypsum, or wax. Each gives a unique finish. Mix and measure your material carefully to avoid bubbles.
How do I remove the hand cast from the alginate mold?
Score the mold's edges with a knife and peel gently. For hard spots, a mix of baking soda and water can help clean. Take your time to keep the details perfect.
How can I ensure my hand cast retains all details?
Mix right and pour to avoid bubbles. Use good quality material and let the alginate set well. Be gentle when cleaning the cast after taking it out to keep details sharp.
Is alginate safe for kids' hand casting projects?
Yes, alginate is safe for kids' projects. But, make sure to watch them and keep them still until the alginate sets. This prevents accidents.
How can I finish and display my alginate hand cast?
After cleaning, you can paint or finish your cast. Use latex or epoxy paints for a nice result. Display your work in a safe place, maybe on a base or in a glass case.

ED MCCORMICK
Edmund McCormick is the founder of Cape Crystal Brands and EnvironMolds LLC. He is the author of several non-fiction “How-to” books, past publisher of the ArtMolds Journal Magazine, editor of Beginner's Guide to Hydrocolloids, and author of six eBook recipe books available for download on this site. He resides in Far Hill, NJ and lives and breathes his art and food blogs as both writer and editor. You can follow him on Twitter and Linkedin.

Leave a comment