Figure 43
The plaster mold is inspected for flaws or loose plaster and placed face down on a work surface.

Figure 44
A light coat of petroleum jelly is applied all around the rear surface of the mold flange. This will prevent the second half of the plaster mold from sticking and make de-molding easier.

Figure 45
Additional strips of clay are cut to create a wall at the base of the rear of the sculpture to prevent plaster from overflowing.

Figure 46
The clay wall is installed at the base with strips of cut clay.

Figure 47
Once the wall is complete, any gaps between the wall and the surface of the sculpture is smooth over and filled in.
Figure 48
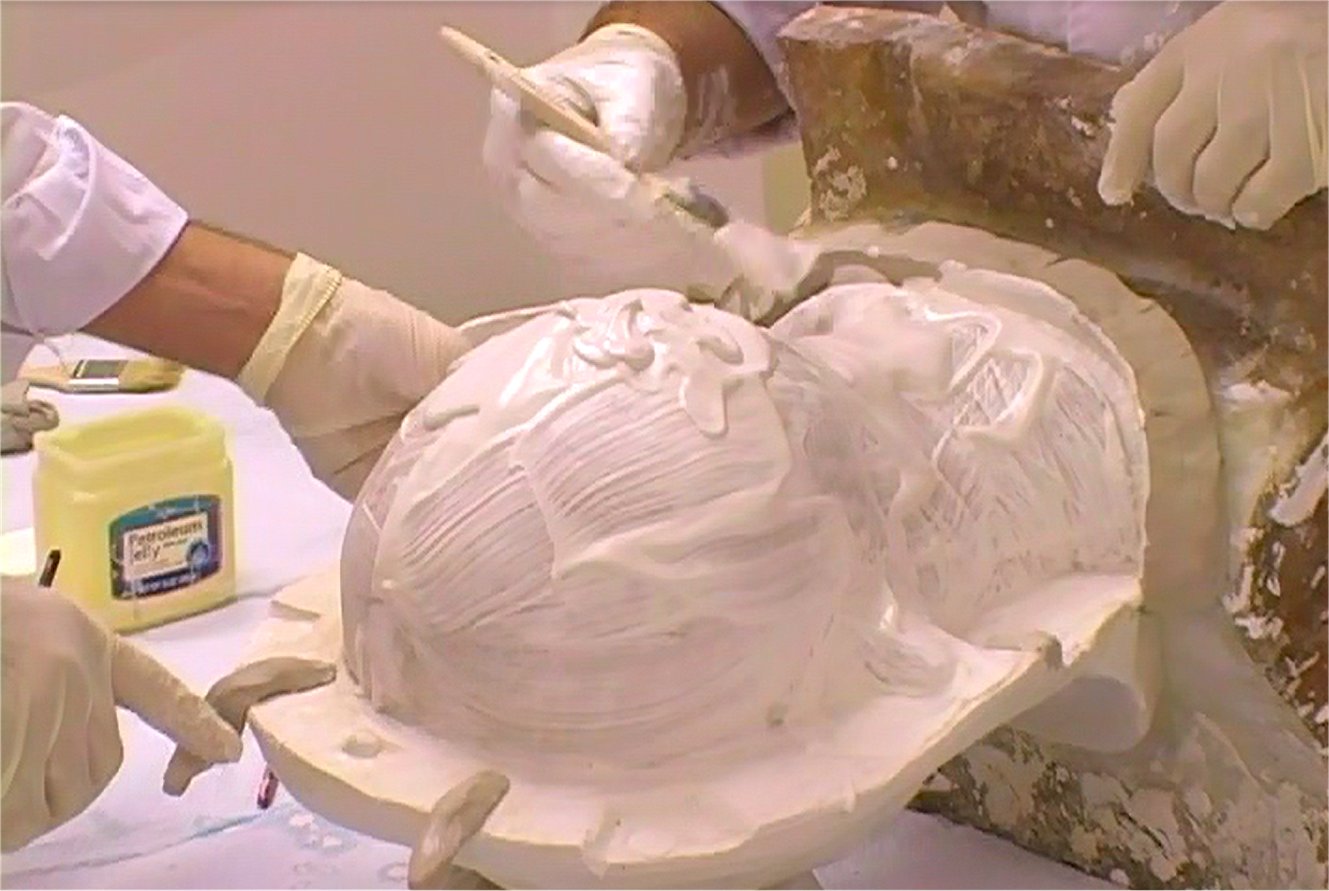
Plaster is mixed the second time and the face coat is brushed on over the rear of the sculpture.

Figure 49
Plaster is painted on the face of the lower wall. But before it is painted on the plaster flange, four cylinder shaped strips of clay are evenly spaced around the flange. These will serve as pry holes so that screwdrivers may be inserted to aid in separating the mold halves.
Click the NEXT arrow to continue.


